
The Powerful Webflow and Mailchimp Integration: An In-Depth Guide

Nowadays, investing in a website for your brand without connecting it to an email service is simply not effective. It’s no surprise that you’re looking into how to use Webflow and Mailchimp together – over 13 million businesses worldwide rely on Mailchimp to create and send engaging emails that build better relationships, reach the right people, and drive revenue and growth. 👍
Integrating Mailchimp with Webflow can streamline customer communication and enable you to take advantage of Mailchimp's powerful features. You’ll be able to capture emails, create and manage mailing lists, send automated emails, and track email performance, all from your website.
However, integrating the two platforms can be a challenge. In this comprehensive guide, we’ll be walking you through how to integrate Mailchimp with Webflow. We'll also provide some useful tips to ensure successful Webflow Mailchimp integration, allowing you to grow your email list and increase the effectiveness of your campaigns. 👇
Understanding Webflow and Mailchimp
Before we dive into how to integrate Webflow and Mailchimp, let's start by understanding exactly what these platforms are.
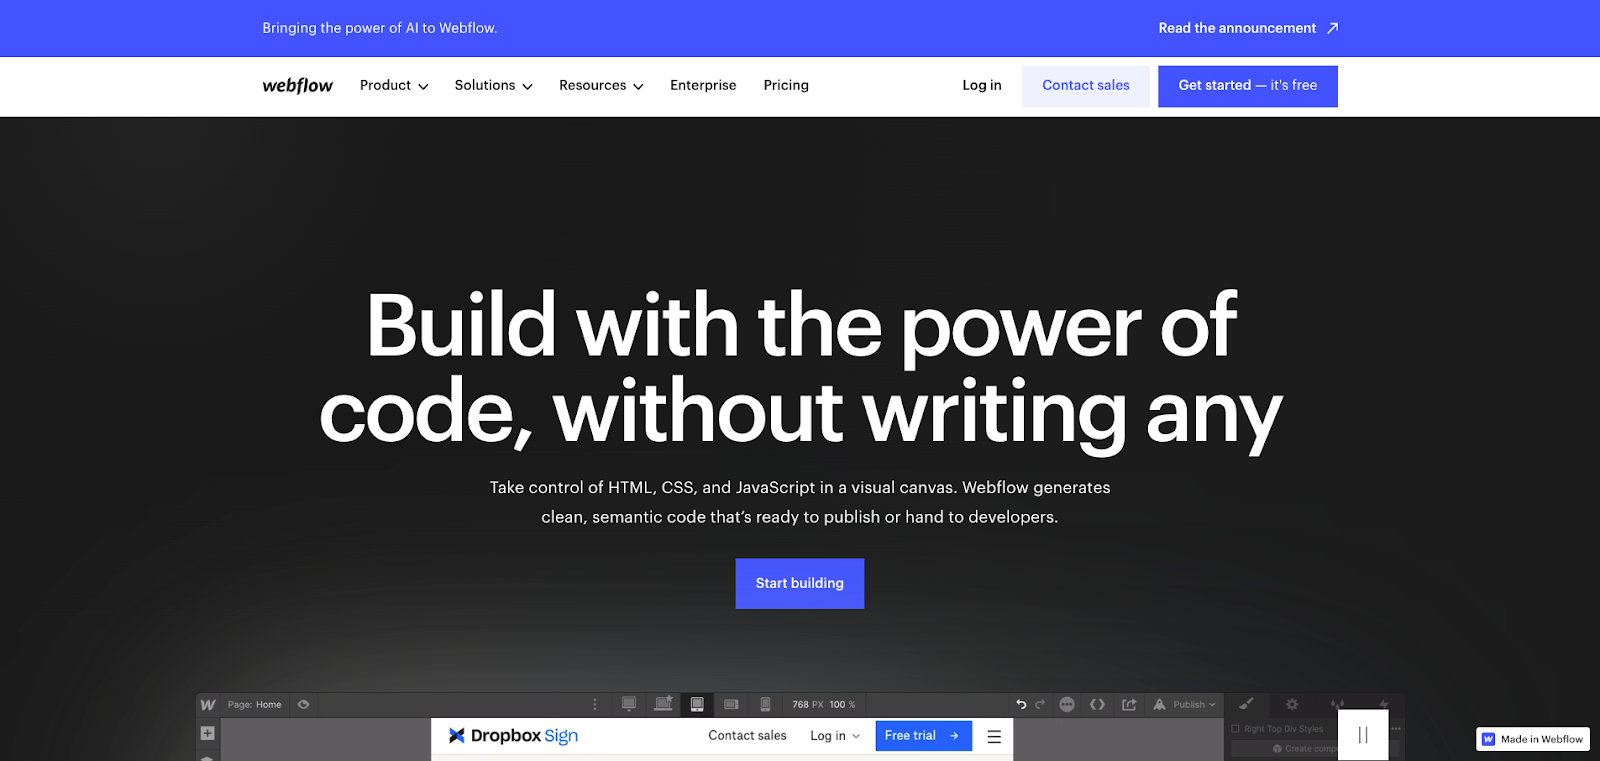
What is Webflow?
Webflow is a popular web development and hosting platform you can use to create dynamic and functional websites without needing to write any code whatsoever. It offers a visual drag-and-drop interface that allows users to design, build, and launch responsive websites quickly.
Webflow also has a powerful content management system (CMS) that enables users to create and manage website content, including blogs, galleries, and e-commerce stores, without any coding skills.
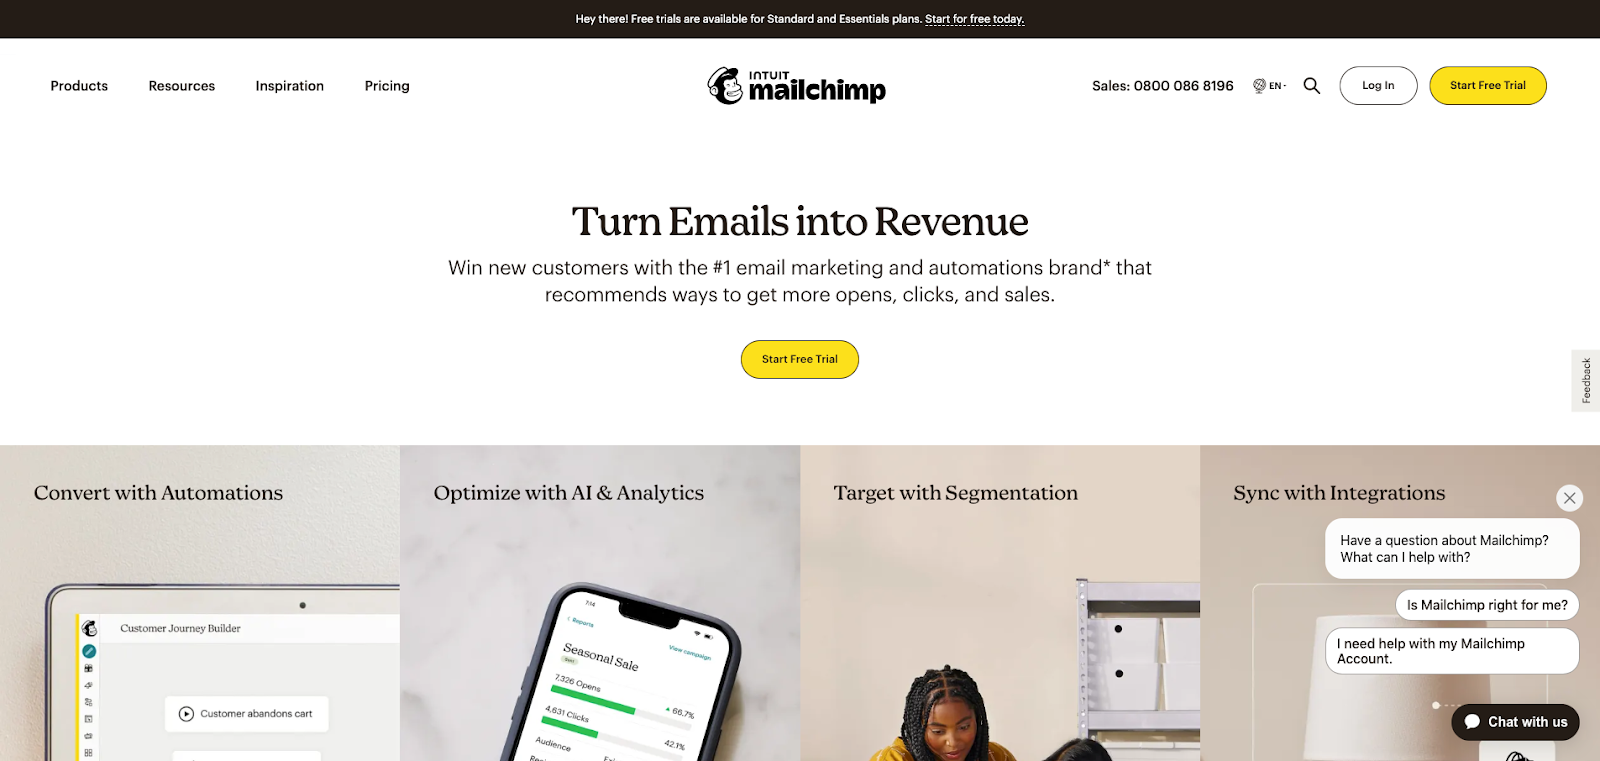
What is Mailchimp?
Mailchimp is a cloud-based email marketing platform for businesses to design and send professional email campaigns to their subscribers. It has a user-friendly interface that allows users to create email campaigns with ease, without having to use code.
Mailchimp also offers some advanced features such as audience management, list segmentation, automation, and analytics, enabling businesses to manage their email marketing campaigns efficiently.
Why You Should Integrate Webflow and Mailchimp
1. Streamlined workflow
When you integrate Webflow and Mailchimp, you’ll be able to automate crucial tasks like adding new subscribers to your Mailchimp list whenever they sign up on your Webflow website.
This can save you a considerable amount of time and effort and ensure that your email list is always up-to-date. You can then easily create targeted email campaigns that are tailored to specific audiences, significantly improving your email marketing's effectiveness.
2. Improved data management
Integrating Webflow and Mailchimp will also allow you to manage your data more efficiently. For example, you’ll be able to use Webflow’s form builder to create customized forms that collect data from website visitors and automatically add new subscribers to your Mailchimp list. That means a streamlined process for managing your subscribers’ data.
You’ll also be able to segment your email list based on subscriber behavior or other criteria and then send targeted email campaigns to different audiences for higher engagement and conversion rates. What’s not to love? 🔥
3. Increased efficiency
Integrating Webflow and Mailchimp can help increase the efficiency of your email marketing campaigns. You can use Webflow's CMS to create landing pages and other website content that is optimized for email campaigns, and then leverage Mailchimp’s powerful email editor for professional-looking emails that match your website's design and brand identity. You can then create automated workflows like welcome emails or abandoned cart emails to improve the efficiency of your campaigns.
How to Connect Webflow to Mailchimp: Step by Step
Now that we understand the benefits of integrating Webflow and Mailchimp, let's explore how to connect them step by step.
1. Creating a Mailchimp account
The first step is to create a Mailchimp account if you don't have one already. To create an account, go to the Mailchimp website, click on "Start for free today" and fill in the necessary details.
2. Creating a Webflow account
The next step is to create a Webflow account. To create an account, go to the Webflow website, click on "Get Started for Free" and fill in the form.
3. Setting up the Webflow Mailchimp integration – 3 Options
Once you have created both your Mailchimp and Webflow accounts, you can then start setting up the integration between them. There are three options you can choose from at this point 👇
Option 1: Embedding a Mailchimp form
If you prefer a more hands-on approach to integrating Mailchimp with Webflow, you can do natively. This involves adding Mailchimp's HTML code to your Webflow website manually, without using a third-party integration tool like Zapier.
- Go to your Mailchimp account and select the "Audience" tab in the main navigation menu.
- Click on "Signup forms" and select the type of form you want to add to your Webflow site.
- Choose the form design you want and customize it as needed.
- Once you have customized your form, click on the "Copy" button next to the HTML code.
- Go to your Webflow account and select the page where you want to add the form.
- Drag an "Embed" element onto your Webflow page.
- Paste the HTML code you copied from Mailchimp into the "Embed" element.
- Adjust the settings of the "Embed" element to ensure that the Mailchimp form is displayed correctly on your Webflow page.
- Preview your Webflow page and test the Mailchimp form to ensure that it works correctly.
Mailchimp settings ➡ Audience ➡ Signup forms ➡ Copy
Option 2: Connecting your Webflow signup form to a MailChimp list
In our opinion, the simplest way to integrate Webflow and Mailchimp is to use Webflow's built-in Mailchimp form integration. It allows you to easily collect email addresses from your website visitors and add them to your Mailchimp email list.
To get started, you'll need to have a Mailchimp account and a Webflow project. Once you're logged in to your Webflow project, navigate to the page where you want to add the Mailchimp form. In the Designer, drag and drop a "Form" element onto your page.
With the form element selected, click on the "Settings" tab in the right-hand panel. Under "Form Actions," select "Mailchimp" from the dropdown menu. You'll then be prompted to connect your Mailchimp account by entering your API key, which you can find in your Mailchimp account settings.
Once your Mailchimp account is connected, you can select the email list you want to add subscribers to and map the form fields to the corresponding Mailchimp fields. You can also customize the form's success message and error messages to match your branding.
With the Mailchimp form integration set up, visitors to your website can now enter their email address and other information into the form, which will be automatically added to your Mailchimp email list. This makes it easy to grow your email list and send targeted email campaigns to your subscribers! 👍
Form ➡ Settings ➡ Form Actions ➡ Mailchimp
💡Quick tip: Make sure you take the time to go carefully go through these steps. You’ll want to set up your Mailchimp and Webflow integration properly to ensure everything works properly.
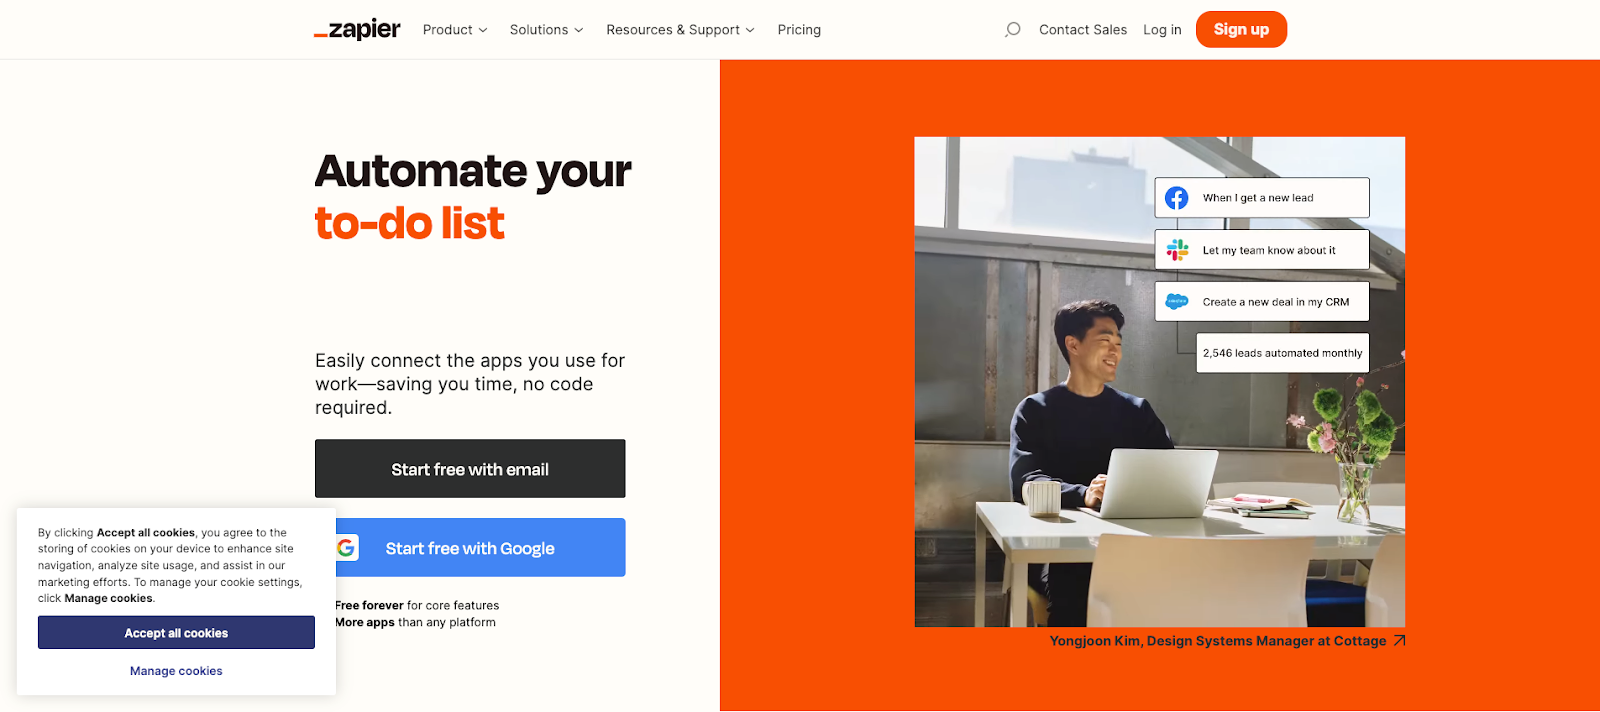
Option 3: Integrating Mailchimp with Webflow using Zapier
Zapier is a third-party integration tool that connects over 3,000 apps, including Mailchimp and Webflow. It allows you to automate repetitive tasks and streamline your workflow by creating workflows, called "Zaps," that trigger an action in one app based on an event in another app.
To integrate Mailchimp with Webflow using Zapier, you will need to create a Zapier account. Once you have signed up, follow these steps:
- Select Mailchimp and Webflow as your apps: To set up the integration, select Mailchimp as the trigger app and Webflow as the action app. This means that when an event occurs in Mailchimp (e.g., a new subscriber is added to a list), Zapier will trigger an action in Webflow (e.g., add the subscriber to a Webflow form).
- Connect your Mailchimp and Webflow accounts to Zapier: To connect your accounts, you will need to provide your login credentials for both apps. Once you have done this, Zapier will verify the connection and create a webhook to ensure that the integration works smoothly.
- Configure your Zap: After connecting your accounts, you can configure your Zap. This involves specifying the trigger event and the action to be taken when the trigger occurs. For example, you can configure your Zap to trigger an action in Webflow whenever a new subscriber is added to a specific Mailchimp list.
- Test your Zap: Before activating your Zap, it's essential to test it to ensure that it works correctly. Zapier provides a testing tool that allows you to test your Zap before activating it. Once you have tested it and ensured that everything is working correctly, you can activate your Zap.
Using Webflow and Mailchimp Together
Using Webflow and Mailchimp together can help you streamline your email marketing efforts and build a successful email list. One way to collect email addresses is by using a Mailchimp signup form in Webflow. 👇
Collecting email addresses using a Mailchimp signup form in Webflow
Adding a Mailchimp signup form to a Webflow page manually
- Log in to your Mailchimp account and select the "Audience" tab in the main navigation menu.
- Click on "Signup forms" and choose the type of form you want to add to your Webflow site.
- Customize the form as needed and copy the HTML code.
- Go to your Webflow account and select the page where you want to add the form.
- Drag an "Embed" element onto your Webflow page.
- Paste the HTML code you copied from Mailchimp into the "Embed" element.
- Adjust the settings of the "Embed" element to ensure that the Mailchimp form is displayed correctly on your Webflow page.
- Preview your Webflow page and test the Mailchimp form to ensure that it works correctly.
Mailchimp settings ➡ Audience ➡ Signup forms ➡ Copy HTML ➡ Webflow account ➡ Embed element ➡ Paste HTML
Adding a Mailchimp signup form to a Webflow page using third-party integrations
Another option is to add a Mailchimp signup form to your Webflow page using third-party integrations like Zapier. This method can automate the process of adding subscribers to your Mailchimp list, saving you time and effort. 👇
- Log in to your Zapier account and select "Make a Zap."
- Choose Mailchimp as the trigger app and Webflow as the action app.
- Follow the prompts to connect your Mailchimp and Webflow accounts to Zapier.
- Configure your Zap to add new subscribers to your Mailchimp list when a form is submitted on your Webflow page.
- Test your Zap to ensure that it works correctly.
Zapier account ➡ Make a Zap ➡ Mailchimp trigger ➡ Webflow action ➡ Configure the action
Email marketing campaigns
In addition to collecting email addresses, you can also use Webflow and Mailchimp together to create and execute email marketing campaigns. With Mailchimp, you can design and send targeted email campaigns to your subscribers, and Webflow can help you automate the process of sending these campaigns.
Mailchimp will allow you to create a variety of email campaigns, including newsletters, promotional emails, and automated emails. To create an email campaign, log in to your Mailchimp account, select "Campaigns," and choose the type of campaign you want to create. From here, you can customize the email's content, design, and recipients.
Once you've created your email campaign, you can use Webflow to automate the process of sending the campaign. To do this, you can use Zapier to create a Zap that sends your Mailchimp campaign to your Webflow subscribers automatically.
Automated workflows
Mailchimp also allows you to create automated workflows that trigger specific actions based on subscriber behavior. For example, you can create a workflow that sends a welcome email to new subscribers, or a workflow that sends a discount code to subscribers who have abandoned their shopping carts.
To create an automated workflow, log in to your Mailchimp account, select "Automations," and choose the type of workflow you want to create. From here, you can customize the workflow's triggers, actions, and conditions.
Once you've created your automated workflow, you can use Webflow to collect the necessary data to trigger the workflow. For example, you can use a Mailchimp signup form on your Webflow site to collect new subscribers who will trigger your welcome email workflow.
Best practices for using Webflow and Mailchimp together
The best practices we try and stick to when it comes to using Webflow and Mailchimp together are the following ⬇️
- Keep your email list clean: Make sure that your email list is up-to-date and free of inactive subscribers or invalid email addresses. This will help to improve the deliverability and effectiveness of your email campaigns.
- Segment your email list: Use Mailchimp's segmentation features to divide your email list into targeted groups based on subscriber behavior, preferences, or demographics. This will help you to send more relevant and targeted campaigns to your subscribers.
- Customize your email templates: Use Mailchimp's drag-and-drop email builder to create custom email templates that reflect your brand's style and messaging. This will help to improve the engagement and conversion rates of your email campaigns.
- Automate your campaigns: Use Mailchimp's automation features to set up triggered campaigns that send targeted messages based on subscriber behavior. This will help to improve the efficiency and effectiveness of your email marketing efforts.
- Test and optimize your campaigns: Use Mailchimp's A/B testing features to test different email subject lines, content, or send times to see what works best for your audience. Use the data to optimize your campaigns and improve their performance over time.
- Keep your website and email content consistent: Make sure that your website and email content are consistent in terms of branding, messaging, and design. This will help to improve the recognition and trustworthiness of your brand.
Advanced Webflow Mailchimp integration options
While the basic integration between Webflow and Mailchimp is straightforward, there are advanced integration options that you can consider to take your email marketing efforts to an even further level.
Customizing email templates
Mailchimp offers a variety of pre-designed email templates that you can customize to fit your brand's style and messaging. However, you can also create your own custom email templates using HTML and CSS.
To create a custom email template, you can use Mailchimp's drag-and-drop email builder or import your HTML and CSS files. Once you've created your custom template, you can save it in Mailchimp for future use.
Using Mailchimp API
Mailchimp's API allows you to access and control your Mailchimp account programmatically. This can be useful for integrating Mailchimp with other tools and services or automating specific tasks.
To use Mailchimp's API, you'll need to create an API key in your Mailchimp account and use it to authenticate your requests. You can then use Mailchimp's API documentation to access and manipulate your account data.
Using Webflow CMS
Webflow's CMS (Content Management System) allows you to create dynamic and content-rich websites. You can use the CMS to create and manage your website's content and collect data from your visitors.
To integrate Webflow CMS with Mailchimp, you can use Zapier or other third-party tools to automate the process of collecting data and adding it to your Mailchimp account. For example, you can use Zapier to add new Webflow CMS items to your Mailchimp list automatically. ✨
The Bottom Line: Should You Set Up a Webflow Mailchimp Integration?
Using Webflow and Mailchimp together can yield a powerful combo of on-brand design and smart automation. You’ll be able to hugely increase your efficiency when it comes to creating and implementing your email campaigns. The integration also allows you to streamline your customer communication, improve data management, and automate the process of sending campaigns and collecting data.
While you might come across some challenges in integrating Webflow and Mailchimp, there are several easy and straightforward ways to connect the two platforms. You can use Zapier to automate the process, or you can add Mailchimp's HTML code manually to your Webflow website.
In short, if you want to grow your email list, streamline your workflow, and improve your email marketing campaigns, using Webflow and Mailchimp together is a fantastic option to consider. 👍
FAQ – Frequently Asked Questions
How do I embed Mailchimp in Webflow?
To embed Mailchimp in Webflow, you can use a third-party integration tool like Zapier or add Mailchimp's HTML code manually to your Webflow website.
To add the HTML code manually, go to your Mailchimp account, select "Audience," select "Signup forms," and copy the HTML code.
Then, go to your Webflow account, select the page where you want to add the form, and paste the HTML code.
Does Mailchimp work with Webflow?
Yes, Mailchimp works with Webflow.
You can integrate Mailchimp with Webflow to collect email addresses, design and send targeted email campaigns, and automate the process of sending campaigns and collecting data.
How do we link Mailchimp with a form in Webflow?
To link Mailchimp with a form in Webflow, you can use a third-party integration tool like Zapier or add Mailchimp's HTML code manually to your Webflow website.
To add the HTML code manually, go to your Mailchimp account, select "Audience," select "Signup forms," and copy the HTML code.
Then, go to your Webflow account, select the page where you want to add the form, and paste the HTML code.
How do I integrate Mailchimp into my website?
To integrate Mailchimp into your website, you can use a third-party integration tool like Zapier or add Mailchimp's HTML code manually to your website.
To add the HTML code manually, go to your Mailchimp account, select "Audience," select "Signup forms," and copy the HTML code.
Then, go to your website's code editor, and paste the HTML code where you want to add the form. You can also use Mailchimp's API to access and manipulate your Mailchimp account data programmatically.

Related articles
Read more
Read more
Read more
Hire Hedrick, Your Webflow Sidekick
Whether it's developing new websites and landing pages, building complex animations, integrating apps, or adding some custom code – if it's related to your Webflow site, we can help!